 |
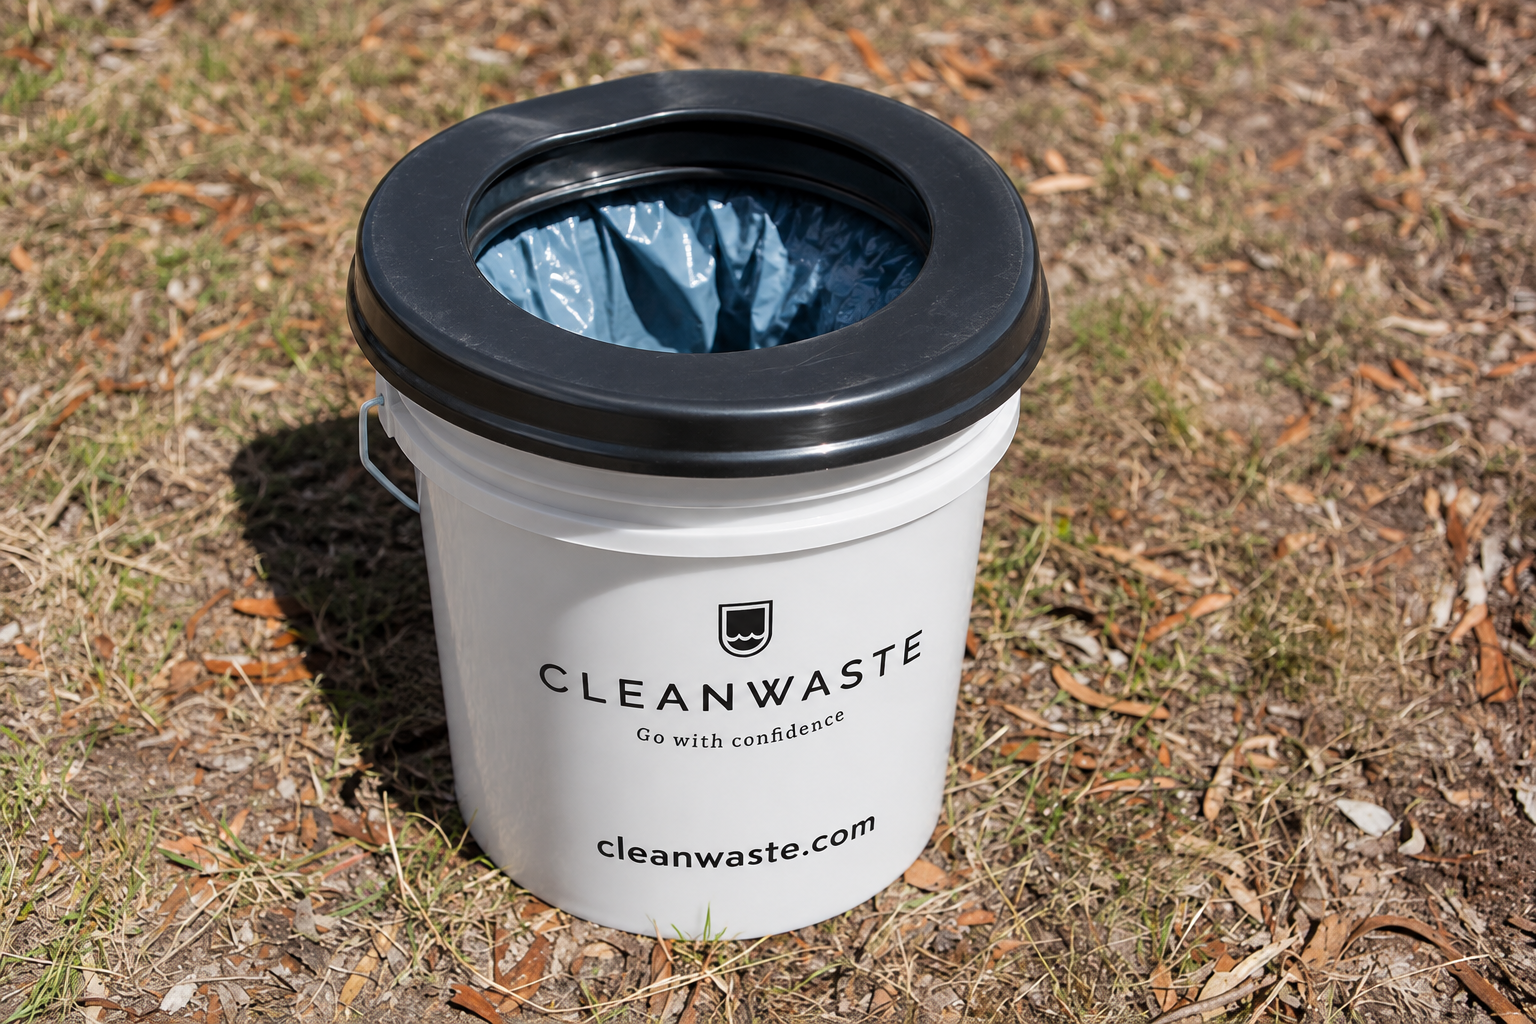
A bucket toilet is a 5-gallon bucket fitted with a seat, a sturdy liner, and something to absorb and cover the waste. It’s the emergency toilet most preparedness agencies point people to, because it works when the water is off, the sewer is down, or the bathroom isn’t safe to use. Built right, it’s clean and almost odor-free. Built wrong, it’s miserable by day three.
Here’s how to set one up properly, and the common mistakes to skip.
When You’d Actually Need a Bucket Toilet
Most people picture a huge disaster. In reality, a bucket toilet earns its keep in much more ordinary situations:
- A water main break or boil-water notice that shuts off service for a day or two
- A power outage on a private well. No power means no pump, which means no water to refill the tank.
- A septic system backup or a pump failure on a septic lift station
- A freeze that bursts pipes or a frozen line you can’t flush through
- An earthquake or major storm that damages sewer lines
Fall and winter bring more of these, not fewer. Storm-season outages and hard freezes are why October is a smart time to set one up.
What You Need to Make a Bucket Toilet
You don’t need much. You do need the right versions of each piece.
- A 5-gallon bucket with a tight-fitting lid. Food-grade or heavy-duty. The lid matters as much as the bucket.
- A seat. A snap-on bucket toilet seat is the minimum. A full-size seat is far more comfortable for anyone older, injured, or using it for more than a day.
- Liners. Gelling waste bags are the easiest option. If you go DIY, use heavy-duty contractor bags and double them.
- Something to absorb and control odor. A gelling powder works best. Clumping kitty litter, sawdust, or peat moss can work if you cover waste after every single use.
- A second lidded bucket or bin to hold sealed, used bags until trash pickup.
- Toilet paper, hand sanitizer, and disinfecting wipes.
How to Set Up a Bucket Toilet, Step by Step
- Pick a spot. A bathroom, garage corner, or a sheltered spot outside. Good ventilation helps. Somewhere private helps more.
- Line the bucket. Place the waste bag inside so it drapes over the rim. With a gelling bag like the Original WAG BAG, make sure the powder sits at the bottom and is fully exposed.
- Attach the seat. It should hold the liner in place and keep the rim clean.
- Use it. If you’re using loose litter or sawdust instead of a gelling bag, add a cup or two after each use to cover everything.
- Seal and swap. Gelling bags fold down into their zip-close outer bag. DIY liners should be tied, then bagged again.
- Store sealed bags in a separate lidded bucket away from food, water, kids, and pets.
- Clean your hands every time. This step prevents more illness than anything else on the list.
Working toilet bowl but no flush? Skip the bucket entirely. Lift the seat, drop a gelling waste bag into the dry bowl, and lower the seat to hold it. [INTERNAL LINK: emergency-toilet-hurricane-season post]
5 Mistakes That Make a DIY Bucket Toilet Fail
Anyone who has used a homemade bucket toilet for more than a weekend has a story. Most of them come back to the same five mistakes.
1. Using thin kitchen trash bags
Kitchen bags stretch and tear, especially when you lift them out full. Emergency managers like Seattle and King County Public Health recommend two heavy-duty bags for a reason. A tear at the wrong moment turns a bad day into a cleanup job.
2. No real lid
A bucket without a tight lid will smell and draw flies within a day. A towel on top doesn’t count. Keep the lid on between uses and on the storage bucket too.
3. A wobbly, low seat
A plain 5-gallon bucket sits lower than a regular toilet, and a snap-on seat can shift under weight. That’s fine for a quick use. It’s hard on knees and backs over several days, and it’s a real tip risk for older adults. A purpose-built commode fixes this. The Cleanwaste CW00 Bucket Commode sits at standard toilet height (16 inches), has a full-size flexible seat, and was tested to hold 300 pounds over 10 hours.
4. Running out of cover material
Litter and sawdust only control odor if you add them every single time. Most people underestimate how much they’ll go through, and loose litter adds a lot of weight to every bag. Pre-loaded gelling bags remove the guesswork because the powder is already measured into each one.
5. Letting it get too full
Liquid is heavy. A half-full 5-gallon bucket of liquid weighs over 20 pounds, which is more than a thin bag (or a sore back) wants to lift. Change liners early. Each Original WAG BAG gels up to 32 ounces of waste, so swapping one out stays manageable.
DIY Bucket Toilet vs. a Ready-Made Bucket Commode
| DIY bucket toilet | Bucket commode with gelling bags | |
|---|---|---|
| Seat | Snap-on, can shift | Full-size, flexible seat |
| Height | Lower than a regular toilet | 16 inches, standard toilet height |
| Liner | Doubled contractor bags | Pre-loaded waste bag plus zip-close outer bag |
| Odor control | Litter or sawdust after every use | Gelling powder already in the bag |
| Storage | Supplies kept separately | Screw-on lid stores supplies inside the bucket |
| Best for | A one-day backup | Multi-day outages, older adults, families |
A DIY setup costs less up front and is better than nothing. If you’re stocking for a real outage, the commode plus a box of WAG Bags is the setup you’ll be glad you bought.
Single Bucket, Twin Bucket, or Bagged?
You’ll see three versions of the emergency bucket toilet recommended:
- Single bucket with liner and cover material. Simple, common, and the one most people improvise.
- Twin bucket. One bucket for urine, one for solids with dry cover material. Pacific Northwest emergency managers favor it for long outages. It keeps volume and odor down but takes more setup and handling.
- Single bucket with gelling waste bags. No separating, no loose materials, and each use gets sealed. It’s the easiest for apartments, kids, and anyone who isn’t up for managing open buckets.
For longer outages after an earthquake, our earthquake emergency kit guide covers how long you might need a backup toilet. [INTERNAL LINK: October Blog 1, earthquake post, once live]
How Many Bags to Keep With Your Bucket Toilet
The simple rule is one gelling waste kit per person per day. Two people for a week needs 14. A family of four for a week needs 28. Store them in or next to the bucket so everything is in one place when the water goes off.
The CW00 commode’s screw-on lid is handy here. You can keep a starter supply of bags, toilet paper, and sanitizer sealed inside the bucket itself, ready to open.
Frequently Asked Questions
Line a 5-gallon bucket with a heavy-duty waste bag or a gelling toilet bag, attach a toilet seat, and keep a tight lid nearby. After each use, cover waste with gelling powder, litter, or sawdust. When the bag is ready, seal it, double-bag DIY liners, and store it in a separate lidded container until trash pickup.
Use a gelling powder or a dry cover material after every use, and keep a tight lid on the bucket between uses. Gelling waste bags come pre-loaded with powder that gels and deodorizes waste. Clumping kitty litter, sawdust, and peat moss also help, but only if you add them each time.
Yes. Clumping kitty litter absorbs liquid and helps with odor in a DIY bucket toilet. Add a cup or two after each use. The tradeoffs are weight, mess, and running out. Pre-loaded gelling bags handle the same job without storing or measuring a separate bag of litter.
Seal it, then hold it until normal trash service resumes. Sealed Original WAG BAG kits go in regular household trash. For DIY liners, tie them tightly, double-bag them, and store them in a lidded container away from food and water. Follow any local guidance issued after a disaster.
A bucket toilet is sanitary when it’s lined, covered after each use, kept lidded, and paired with handwashing. Problems come from torn bags, open buckets, and skipped handwashing. Using sealed gelling bags and a sturdy commode makes it much easier to keep clean over several days.
Build Your Bucket Toilet Before You Need It
The worst time to figure out a bucket toilet is the night the water stops. Set one up now, use it once so everyone in the house knows how it works, and store it with enough bags for a week.
The easiest version is the CW00 Bucket Commode with a 12-pack of Original WAG BAGs stored inside. See more options in our preparedness collection.